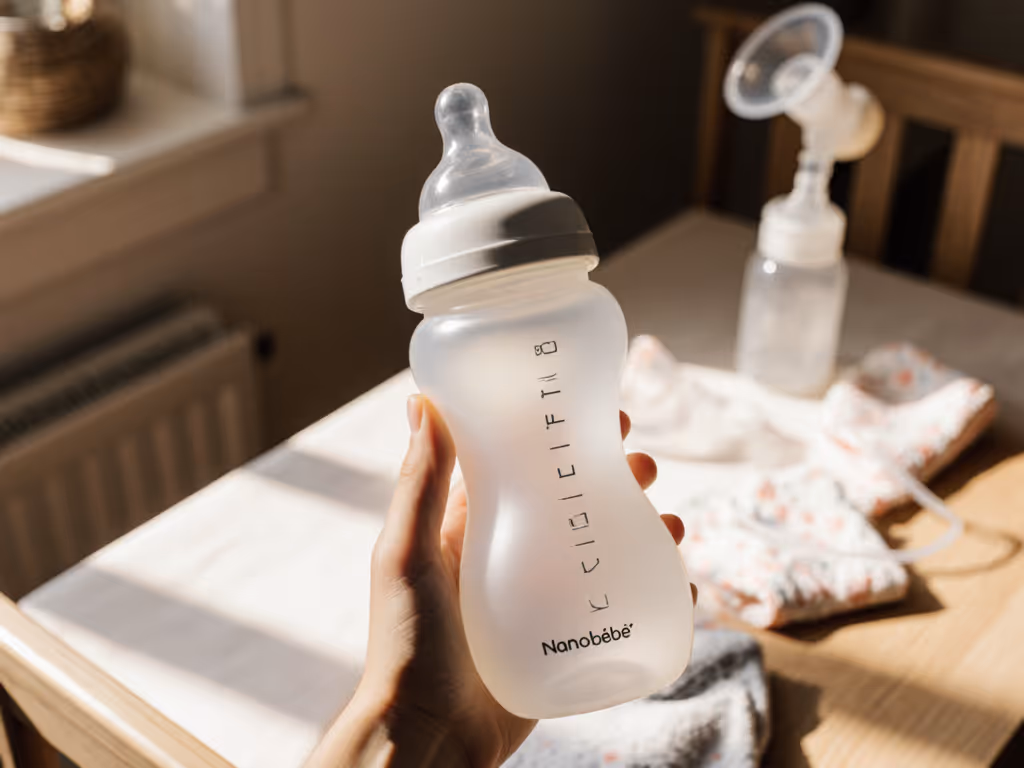
Nanobébé Flexy Review: Best Bottle for Breastfed Infants?
21st May•17 min read

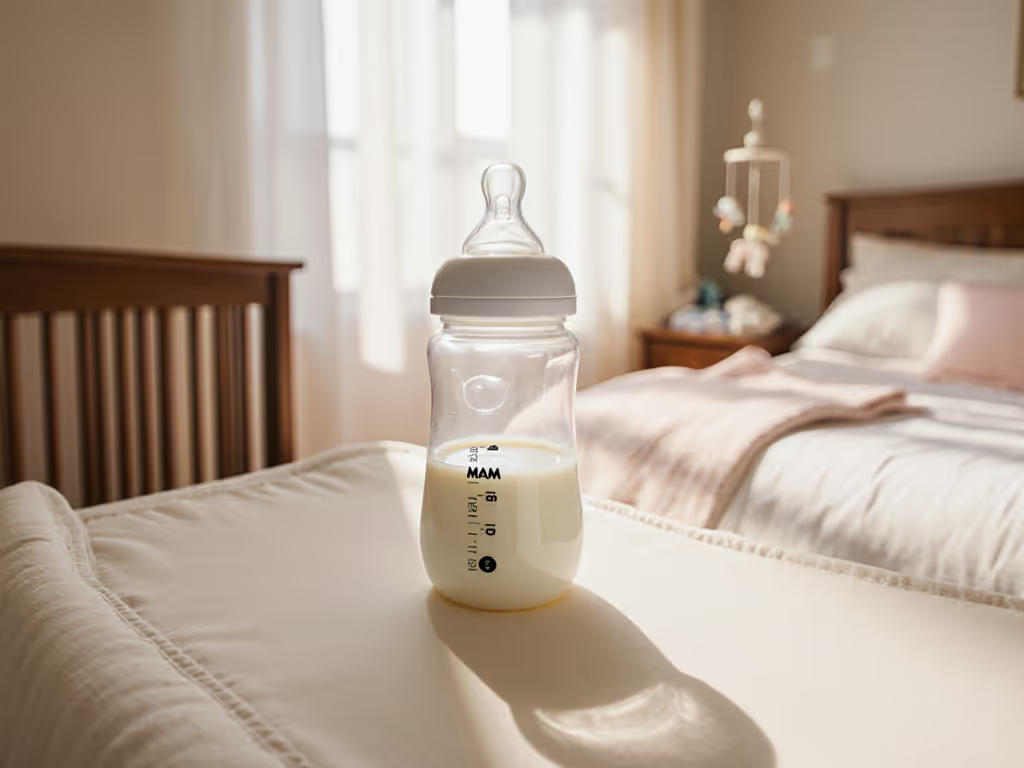
When your baby pulls away from the bottle mid-feed, coughs, or fusses inconsolably afterward, gas buildup often plays a hidden role. The challenge isn't just finding a bottle, it's finding one where the venting system actually matches how your baby feeds. This MAM Anti-Colic review explores the bottom vent design and how it compares to conventional approaches. For a broader, brand-agnostic look at vent designs, see our anti-colic bottle comparison. Whether you're considering a Philips Avent anti-colic system or weighing the MAM option, understanding the bottom vent system mechanics will help you decode what your baby's behavior is really telling you.
Bottle-fed babies experience something breastfed babies do not: a vacuum can form as milk is removed. Without adequate air replacement, the baby must work harder to extract milk, often ingesting air in the process. That trapped air becomes gas, leading to bloating, discomfort, and the kind of feeding resistance that feels personal but isn't.
The pain point many caregivers face is inconsistent information. One person swears a bottle "solved" their baby's gas; another tries the same bottle and sees no change. The difference usually isn't the bottle itself, it's whether the venting mechanism is working with that particular baby's feeding rhythm.
The process is mechanical. As your baby sucks, milk flows out. Without air entering to replace it, negative pressure builds inside the bottle. Many traditional bottles have only a nipple hole; air must be drawn back up through that same hole to break the seal. This creates turbulence, foaming, and often ingested bubbles.
A bottom vent system operates differently. Instead of air competing with milk in the nipple channel, a separate vent hole near the base of the bottle allows ambient air to enter directly into the bottle's base. This equalizes pressure from below while milk flows out from above, creating two distinct pathways.
The MAM Anti-Colic bottle uses a bottom vent system paired with a double-chambered nipple. Here's what that architecture does:
The bottom vent consists of a small hole in the base of the bottle. As your baby feeds, air enters through this opening, equalizing the internal pressure in real time. The nipple itself features a two-chambered design with a valve that prevents milk from re-entering the bottle even when it's inverted or tilted.
When you watch a baby on a bottom-vent bottle, you often notice a smoother sucking rhythm. No gasping or sudden pauses mid-feed. No collapse of the nipple partway through. The baby's jaw movements remain consistent because the bottle isn't fighting back.
Open a bottle used for multiple feeds on a traditional vented system, and you'll often see foam at the top of the milk or residue on the sides. With the MAM bottom-vent design, the milk surface stays calmer. This visible difference correlates with less air being whipped into the feed.
Many caregivers document in feeding diaries that babies finish faster on the MAM Anti-Colic design. When you're not fighting vacuum, the baby isn't working to extract each milliliter. A feed that typically takes 20 minutes might compress to 12-15 minutes without the stop-start pattern.
The SkinSoft nipple testing aspect of MAM's design warrants close attention. The nipple is designed with a wider base and a gently tapered teat body. This geometry is important because it mirrors the shape of a breast's tissue at the entry point.
A narrower, rigid teat can create a restrictive latch angle. The baby's mouth closes around a thin point, which can trap air and reduce the effectiveness of the seal. The MAM SkinSoft design allows the baby's mouth to envelop a wider entry point, closing around a shape that accommodates natural latch variation.
Watch the baby, not the box. A baby's latch on a bottle should look relaxed, with the mouth corners soft and visible milk flow steady. If you see the baby's cheeks drawing inward repeatedly or the corners of the mouth tightening, the nipple geometry may not be working with that baby's oral anatomy.
One practical experiment: Watch your baby's mouth position on the bottle. Does the bottom lip tuck under, or does it rest against the bottle base? Does the upper lip flange outward, or does it pinch? On a good geometry fit, the lower jaw moves in a gentle up-and-down motion, and the lips maintain a relaxed seal.
On a poor geometry fit, you'll see the baby re-positioning the bottle repeatedly, the mouth opening and closing as though adjusting the angle. This repositioning is a comfort cue that the geometry isn't aligning with the baby's oral anatomy.
To test whether the bottom vent system is the key factor for your baby, and not just the nipple or bottle shape, try this single-change experiment:
Feed 2 (MAM Anti-Colic): Use the MAM bottle for the next scheduled feed. Keep everything else constant: same milk, same caregiver, same room, same time of day if possible. Track the same observations.
Comparison: Did the feed complete faster? Were there fewer repositioning pauses? Did post-feed behavior change? This comparison isolates the venting variable.
This approach reflects a core truth: Comfort first, then compatibility; calmer feeds shape better habits. The observable shift from Feed 1 to Feed 2 tells you whether the system is working with this baby, not just whether it's a good bottle in general.
Both the MAM and Philips Avent anti-colic lines address gas relief, but through different mechanisms.
Philips Avent bottles with anti-colic nipples typically use an internal straw-like anti-colic tube or a valve-based system. The nipple itself is typically firmer and more structured. The anti-colic mechanism pulls milk from the bottom of the bottle, away from air bubbles.
Observable differences in use:
The MAM bottom vent works regardless of bottle angle within normal feeding ranges. The pressure equalization is passive; air enters naturally as milk exits. The system is simpler: fewer parts, less assembly variation.
Observable differences in use:
Your baby's observable cues will guide this choice. Some babies settle immediately on the MAM design; others resist the softer nipple and thrive on the firmer Philips Avent teat. This isn't a reflection of the bottle's quality, it's a reflection of the match between the baby's oral anatomy, sucking strength, and the bottle's geometry.
In a toddler room I supported, I watched two babies take identical bottles differently. One relaxed only when we widened the latch angle and slowed the flow; the other needed a narrower teat and faster pace. Watching them settle taught me that comfort cues predict acceptance more than brand names ever will. The first baby thrived on the MAM; the second needed the Philips Avent. Same age, same daycare, completely different needs.
Learn to read these cues while your baby is on the bottle:
Positive indicators:
Discomfort indicators:

The MAM Anti-Colic bottle has a straightforward assembly: bottle, nipple, ring, venting disk (for the bottom vent opening). A common setup mistake is forgetting to open the vent hole when the disk is in place. Double-check that the vent opening is not blocked.
For daycare, ensure staff understand this mechanism. A simple note in your daycare communication bag that says "Check that the bottom vent hole is open before each feed" helps prevent misassembly and its consequences (a blocked vent defeats the entire design).
The bottom vent system requires only basic care. The vent opening is large enough that it doesn't clog easily with residue. Standard bottle brushing and warm soapy water are sufficient. If you use other multi-part vented systems, our vented bottle cleaning guide shows quick ways to sanitize small parts without damaging seals. Sterilize according to your pediatrician's guidance (typically through 3 months old for medically fragile infants, less frequently after).
If you're pumping, check that the bottle threads match your pump (Medela, Spectra, Evenflo, etc.). Check our pump compatibility guide for direct-attach options and adapters by brand. MAM bottles are compatible with direct expression and with most pump adapters. Keep a few empty adapters on hand to avoid buying duplicate bottles.
Babies change. A bottle that worked beautifully at 4 weeks may need adjustment at 4 months as the baby's oral development evolves and sucking strength increases.
Reassess your bottle choice if you notice:
When reassessment is needed, return to the single-change experiment. Test one variable at a time. A simple adjustment, moving to a faster-flow nipple or switching bottle brands, might be all that's needed.
If you're currently troubleshooting gas or bottle refusal: Start with a single feed on the MAM Anti-Colic system. Before you buy a full set, ask a friend or contact a local parent lending library to borrow one bottle for testing. Track the single-change experiment outlined above. Let your baby's observable cues guide your decision.
If you already have MAM bottles but haven't seen improvement: Check the bottom vent opening. Is it genuinely open? Verify that the nipple size matches your baby's current sucking strength (the flow may have become too slow as your baby grew). Observe the latch angle carefully over three feeds. One variable may need adjustment.
If you're building a bottle kit for daycare: Choose your primary system (MAM or Philips Avent, based on your baby's observable comfort cues). Buy two or three bottles of that type for home. Supply daycare with identical bottles, pre-assembled and labeled. Include a one-page setup guide. Test one switched bottle at home first to ensure daycare staff assembly matches yours.
If multiple caregivers are involved: Schedule a 10-minute observation session where you show a grandparent or nanny exactly how your baby feeds on the chosen bottle. Point out the observable cues you're watching for. This standardization prevents the frustration of a baby accepting the bottle at home but refusing it at daycare.
The path forward starts with observation. Watch the baby, not the box. Let comfort guide compatibility, and let calmer feeds shape better habits. The right bottle system exists for your baby, it's a matter of listening to what your baby's behavior is already telling you.